Manual
The following instructions for using the Unplugstickers are divided into two chapters, the notification function and the loading disc function.
Notification function
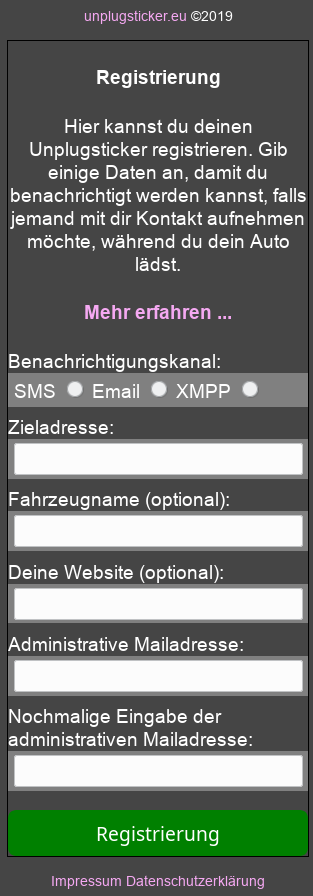
When you scan the sticker for the first time, you will be taken to the registration page. Here you specify how you want to be notified – whether by SMS, email or XMPP.
In the Destination Address field, enter a phone number, email address or XMPP address. The best way to enter the phone number with the country code (e.g. +43 …), then the unplugsticker will also work abroad. Optionally, a vehicle name (will then be included in the notification) and a website (including “http://”) can be specified.
Important is the administrative mail address – this is needed if you want to change your registration data later. By the way, for mail addresses – for the administrative mail address as well as for the destination address, if “email” is specified as the notification channel – it is also possible to specify several mail addresses separated by commas. The emails will then be sent to all specified email addresses.
Note for XMPP: before first use, a message should be sent to unplugsticker@jabber.de

After successful registration the sticker is ready for use. If someone scans the sticker, the notification page will now appear. The button “Send request” triggers a notification to you depending on the specified notification channel (currently SMS, Email or XMPP). In order to prevent possible annoyance or in preparation for anonymous SMS notifications, only one notification is sent within 10 minutes. (It is therefore useless to trigger notifications every second).
With the button “Administrative Area” you can change the registration data of your sticker and specify a different notification type and destination address. More details follow in the next picture.
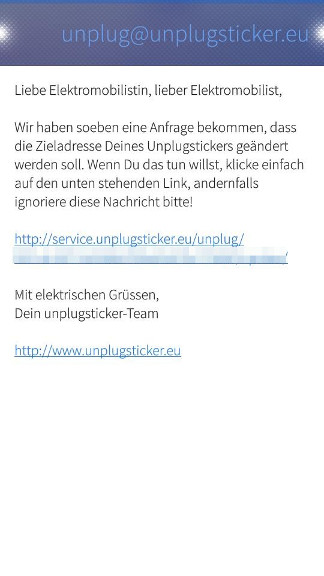
If you click the button “Administrative area” on the notification page, an email with a link to the address update page will be sent to your administrative email address. This is so that only you can change the registration data of your sticker. For security reasons the link is only valid for a limited time.
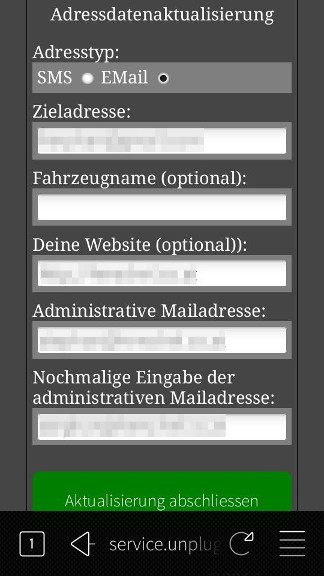
The address update page is not much different from the registration page. The only difference is that your current data is displayed. Make your changes and then click on “Finish updating”.
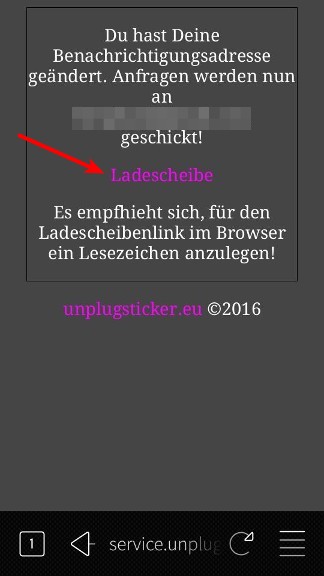
Once your details have been successfully updated, a confirmation page will be displayed. This also contains the link to your virtual charging disk (see arrow!), for which you should bookmark your browser.
More about the virtual loading disk in the next section.
Charging disc function
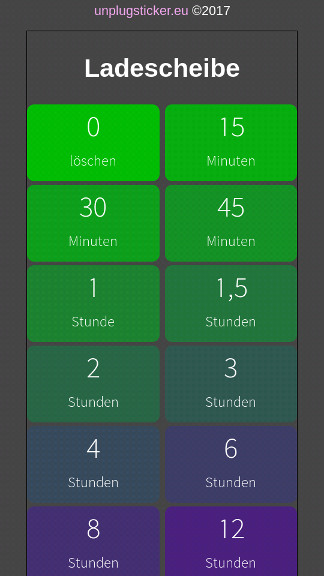
With the virtual charging disc you can indicate how long you expect to leave your vehicle at the charging station. Of course you don’t have to be at the car to do this. And you can also update the information at any time. To make the process as simple as possible, you don’t have to enter the time in text form. Just click on the button that best suits your time needs.
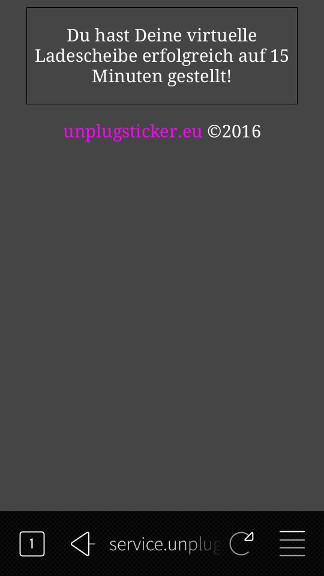
A confirmation page will then show you how many minutes you have set your loading disc to.
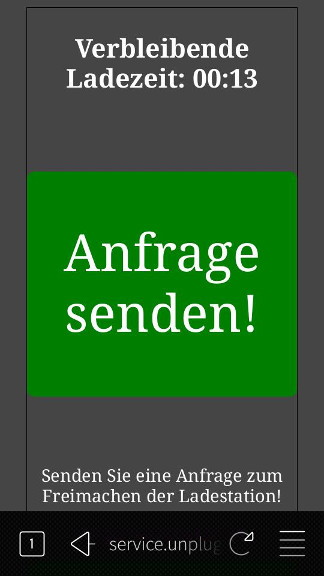
If someone scans your sticker with the charging disc set, the remaining charging time is now displayed.